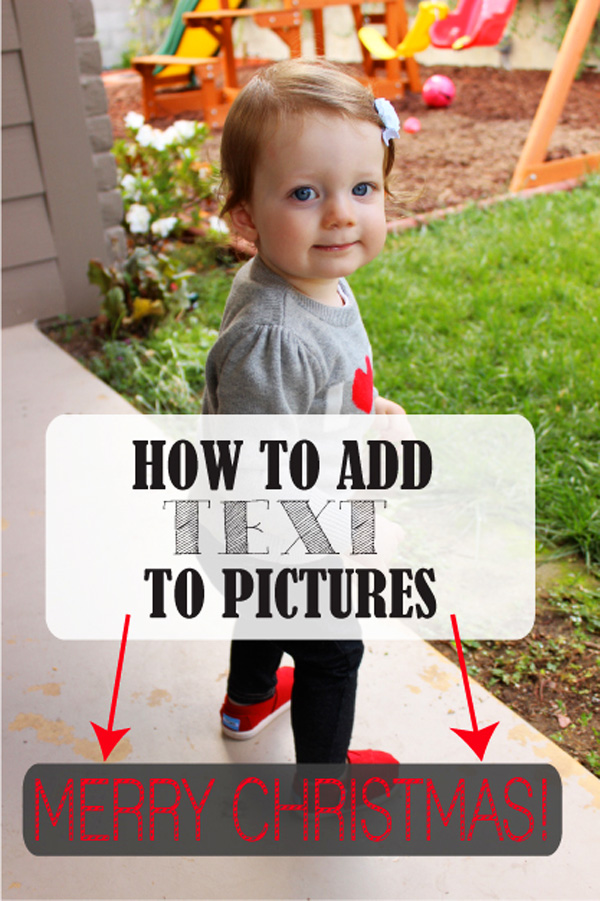
I find myself working on projects all the time where I need to add text to a picture. For me this is easy since I work in graphics and use adobe illustrator and photoshop but I realize it is not that easy for other people so I wanted to post a quick tutorial on how to add text to your pictures.
For example, if you are making a DIY Board book from my post HERE you can do the following:
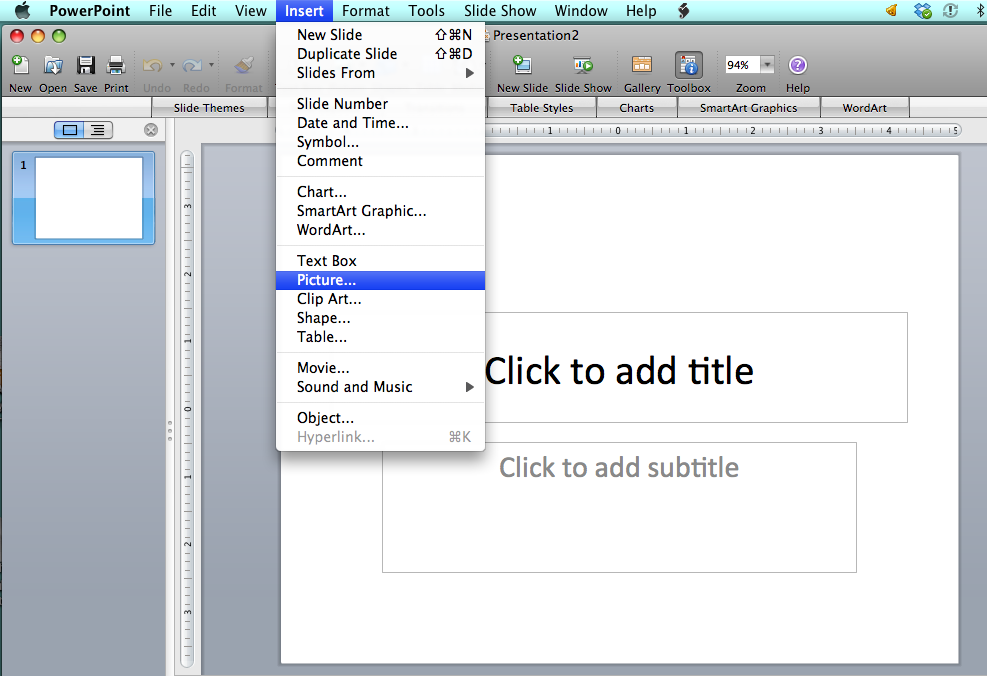
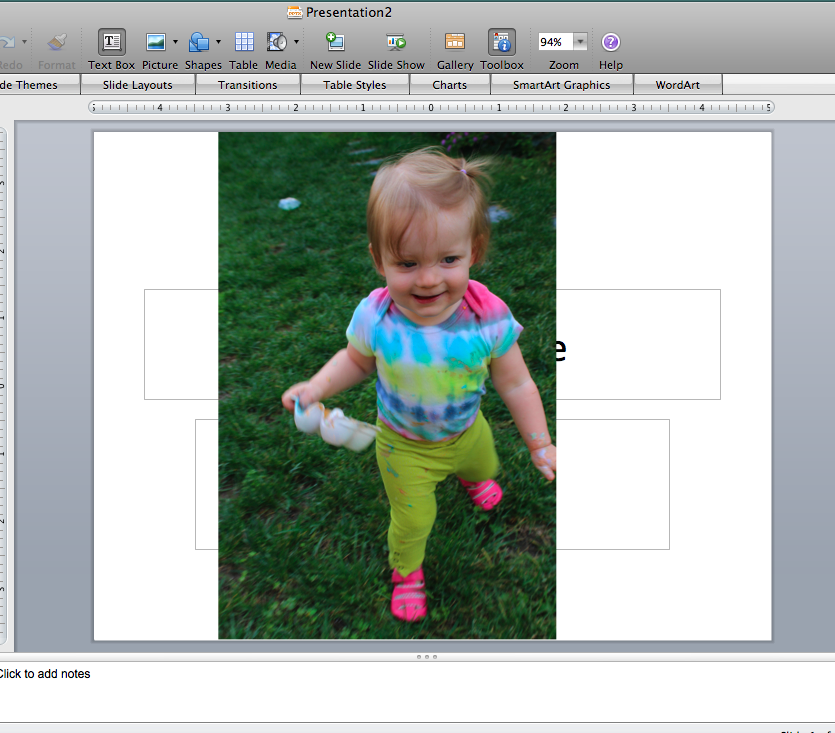
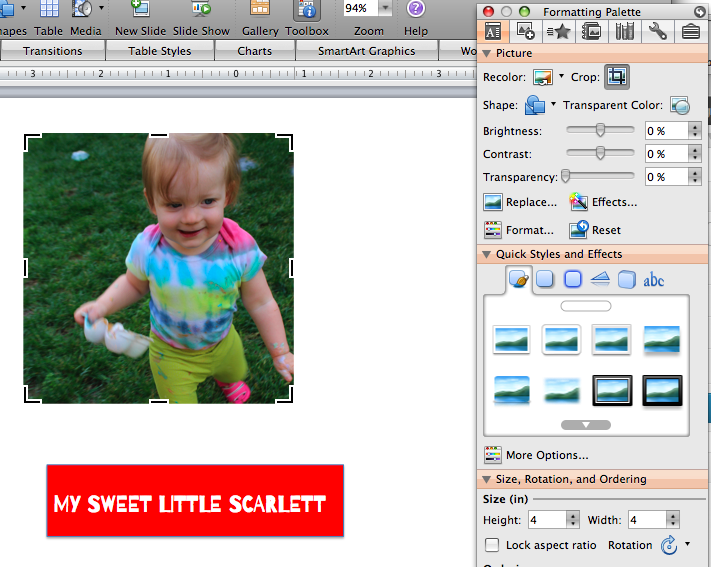
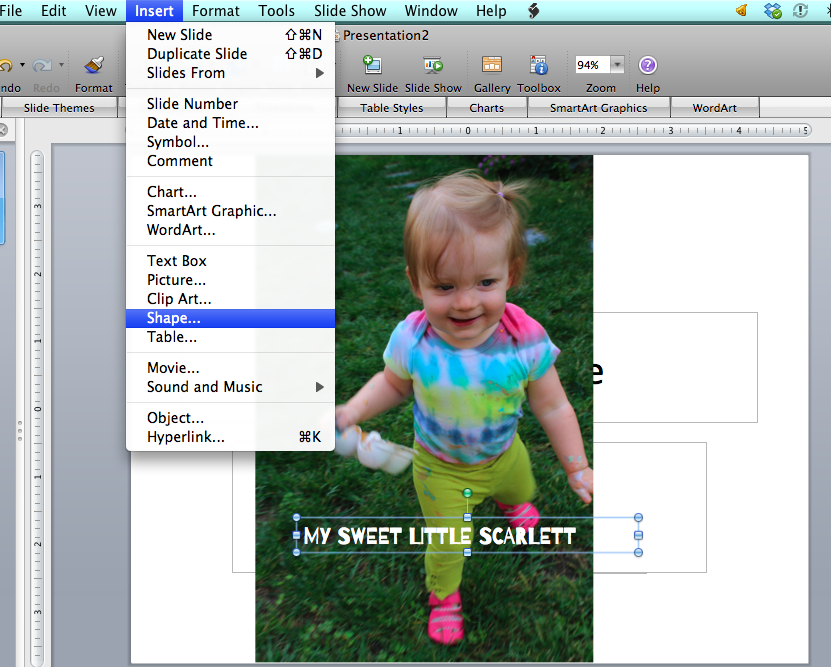
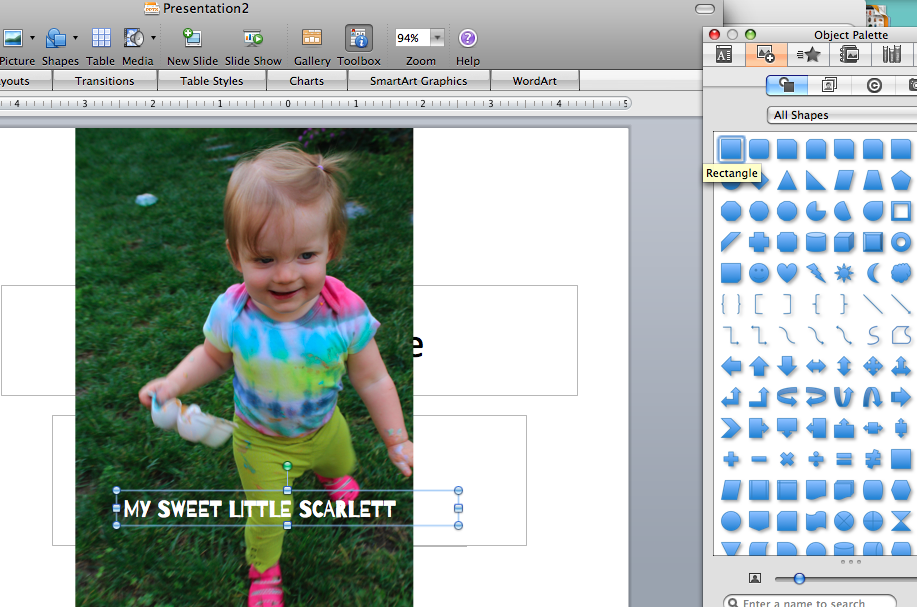
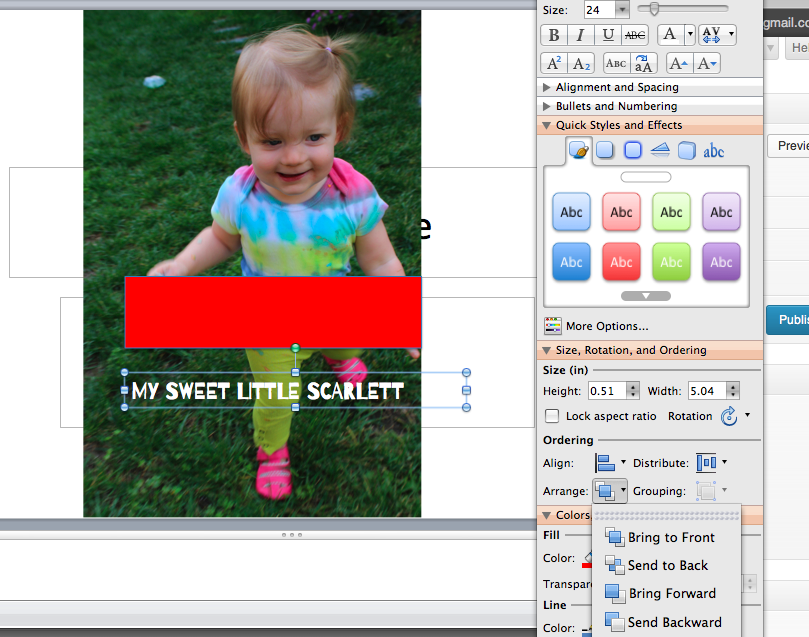
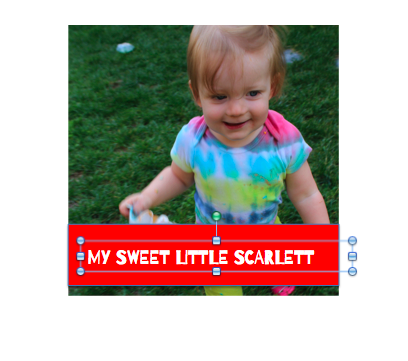
MIcrosoft Powerpoint- In a new blank slide go to menu bar and choose INSERT>PICTURE. CROP your picture down to the needed size using your crop tool. Pay attention to the dimensions box to know what size you are cropping to. Then use your TEXT BOX TOOL to add text. You can choose any color or font. If you decide you want a color background for your text then go to menu bar again and choose INSERT>SHAPE. Then make a shape, choose your fill color. You will need to click on your text and then go to the tool window and click on ARRANGE, BRING TO FRONT so that your new shape does not cover up your text.


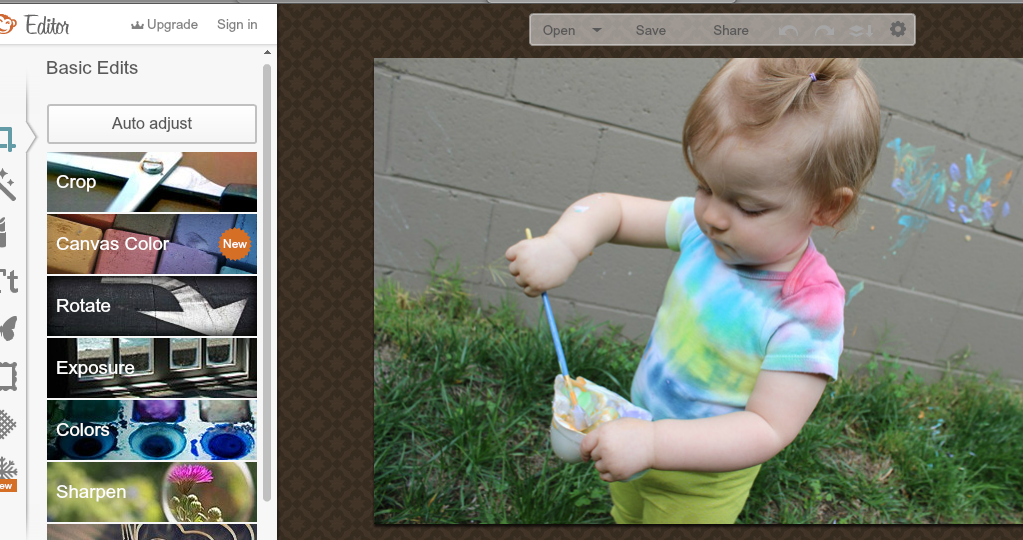
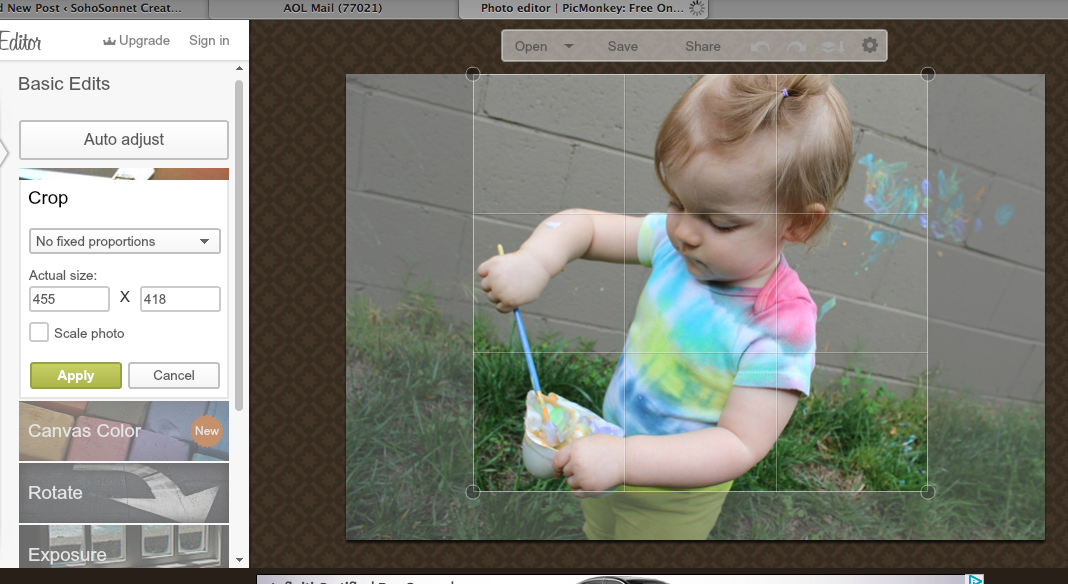
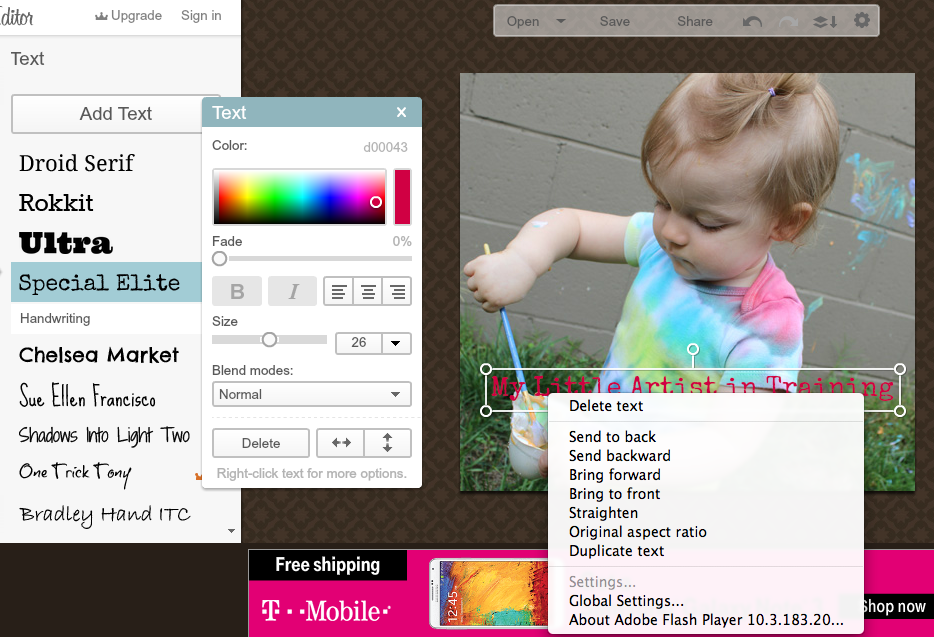
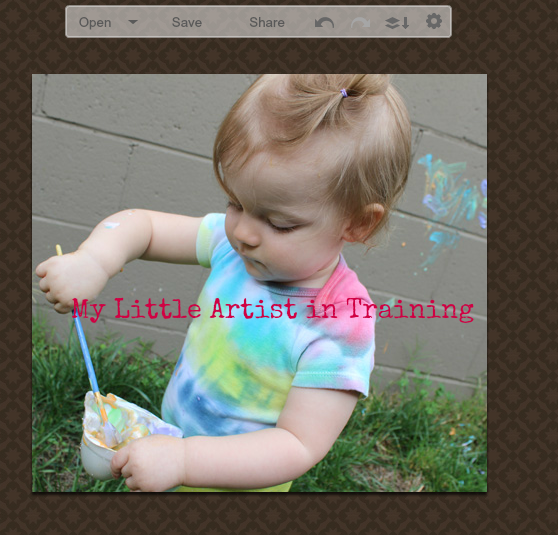
Picmonkey.com- This website is an awesome photo editing tool for many different things, including cosmetic corrections! First open your picture then go to CROP on the right hand side. I do not think you can crop to exact measurements so I would crop it to one of their preset dimensions and just plan on cutting down to whatever size you need size after you print. Then Click on TEXT in the lefthand window and you will be able to add text to your picture after choosing the font you want. You can right click on your text after you have written it to choose from more options. After you are all finished then save it to your computer.


Paul says
Thanks