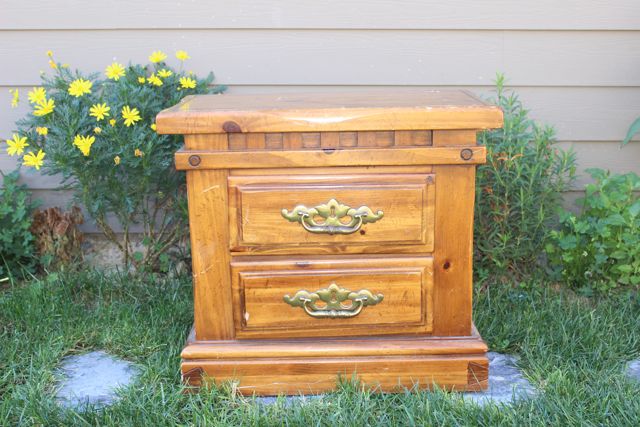
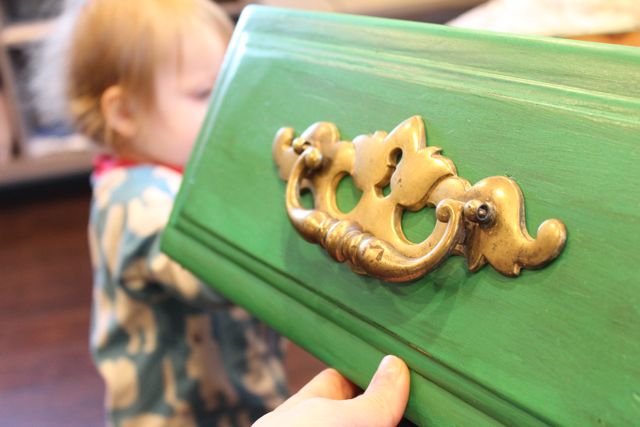
I just bought a huge amazing printer for my new Etsy Print Shop (launching soon) and needed a stand to put it on so I hit up the thrift store this weekend and found the PERFECT THING. I love Salvation Army, so much good stuff for so cheap. Goodwill… not so much, but that is another story. I saw this night stand, or dresser, or whatever you want to call it and saw some potential. Loved that it had drawers where I could keep my different papers, color chips etc, and I loved the gold handles. The drawers are old and do not slide easily in and out which would be annoying to many people but as a parent this is GREAT, automatic child proofing. Scarlett tries to pull open the drawers but gets frustrated by the effort and gives up, score!
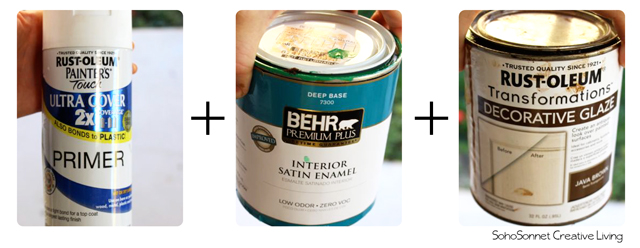
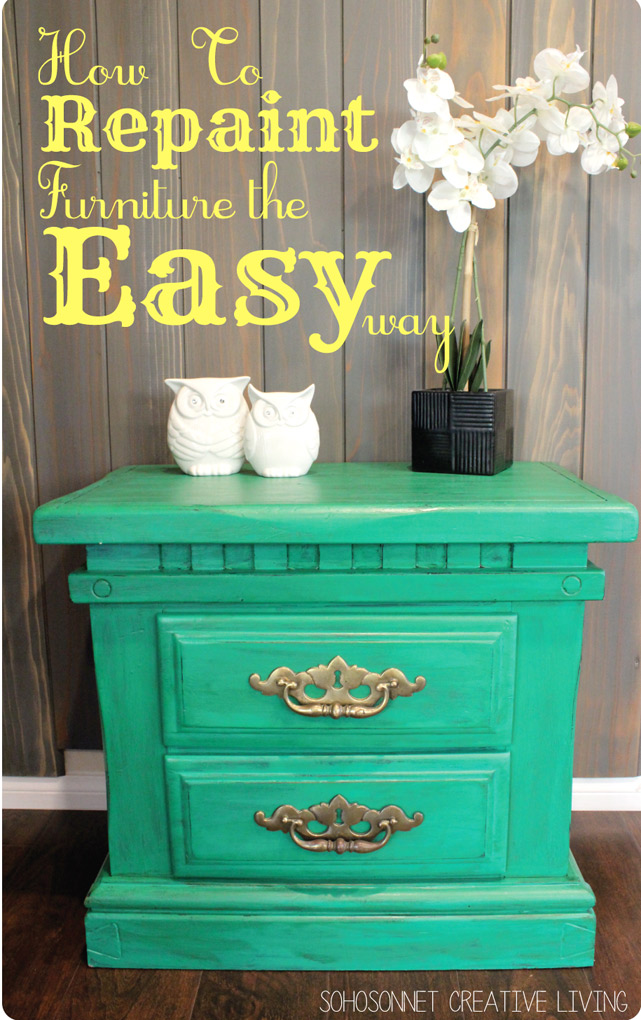
To repaint and makeover your furniture the easy way you will always need 3 essential ingredients….. Black Primer + Paint + Decorative Glaze. If you own a house and like to save money I suggest you ALWAYS have these on hand. You will most likely want to use different paint colors for your different projects but the primer and glaze will always come in handy. The glaze lasts FOREVER because you barely use any. For the primer… one can will last me 3-4 projects but for $3.77 it is no problem, in fact I always have both black and white stocked in the garage. TIP: When painting over black primer keep in mind that your actual paint color will dry slightly darker then the paint chip so if you are deciding between two shades go for the lighter brighter one. Same holds true for white primer, do the opposite and go for the darker color.
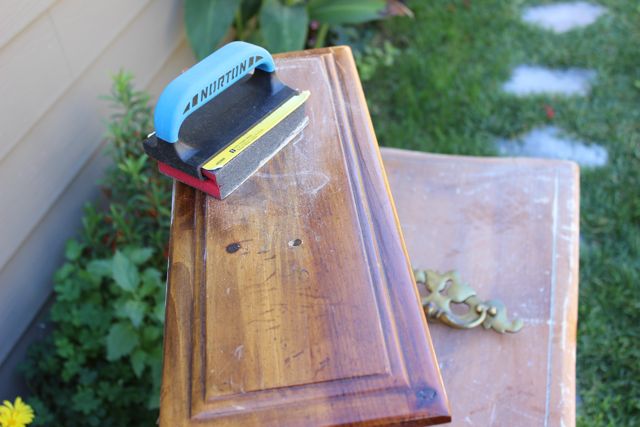
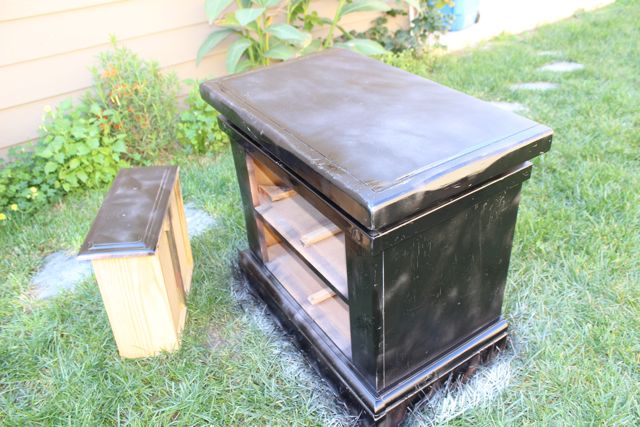
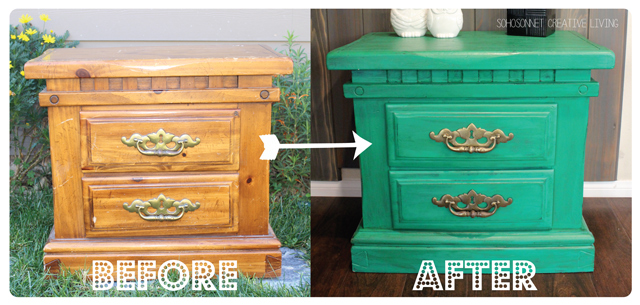
Here is the nightstand in it’s original form. It was actually a very nice on it’s own but our house does not have this sort of woodsy brown feel so it needed to be refurbished.
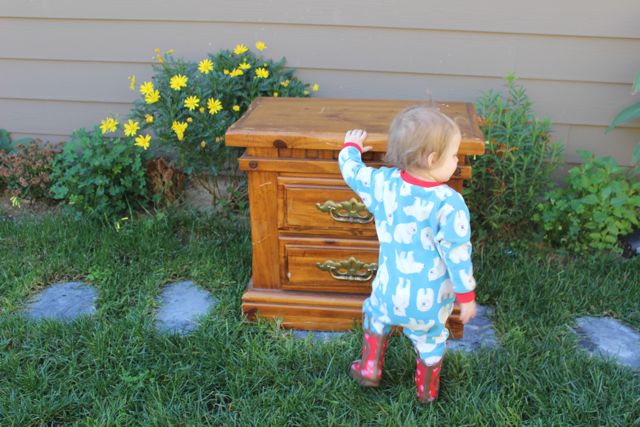
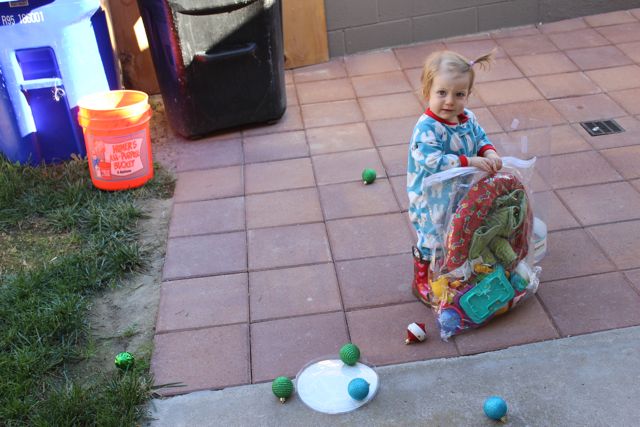
Of course I have my little helper up with me since she IS the reason I am up bright and early.
1. First sand down slightly. I hate to sand, sometimes I skip it altogether but I will be using this piece a lot so I wanted a base for the paint to hold onto (beyond primer).
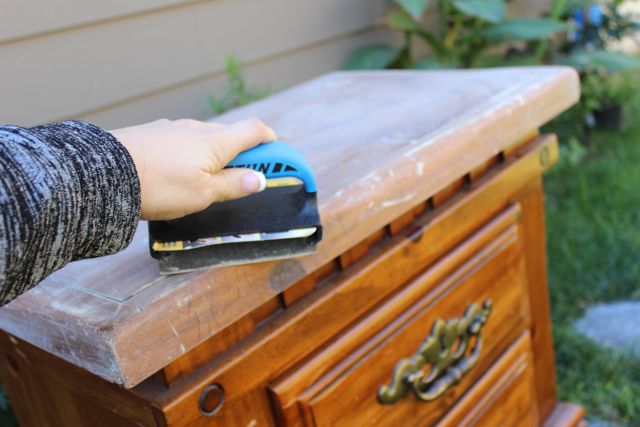
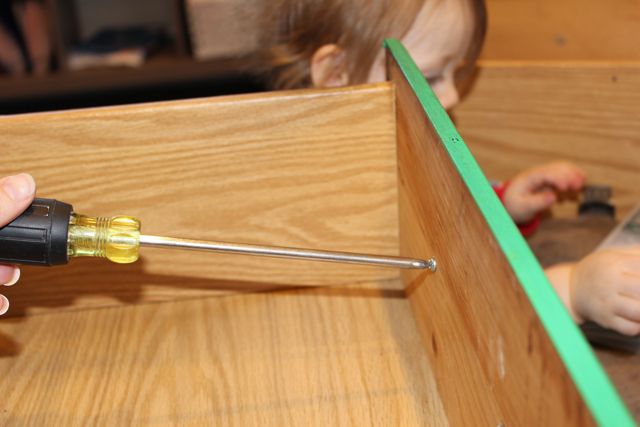
2. Take off any hardware, and sand down the outside of the drawers.
Make sure munchkins are occupied and out of the way during sanding!! Very bad for little lungs.
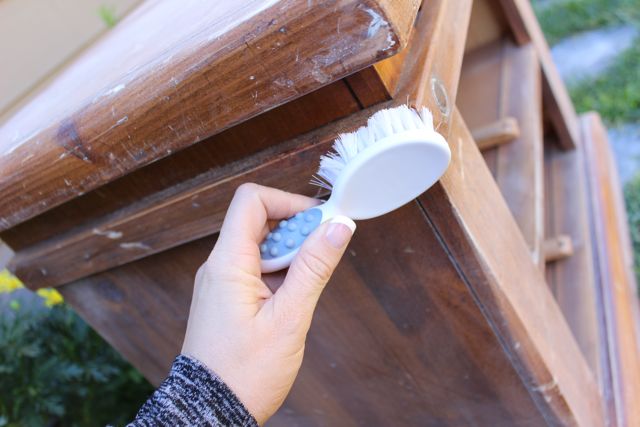
3. Wipe off any sanding debris. I use an old baby brush of Scarlett’s to get the corners. Tooth brush works great as well. You do not want any dust or sand debris leftover.
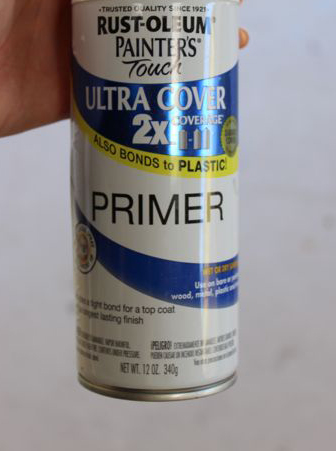
4. Spray down with Primer. Primer makes your paint stick and hold to the furniture despite the bad sanding job you do (if you are anything like me!) My fav fav fav is Rustoleum Painters Touch Ultra Cover primer from Amazon (or any hardware). I recommend black for a vintage or rustic project because you want the chips and cracks to show through dark. Let the primer dry before painting your main color.
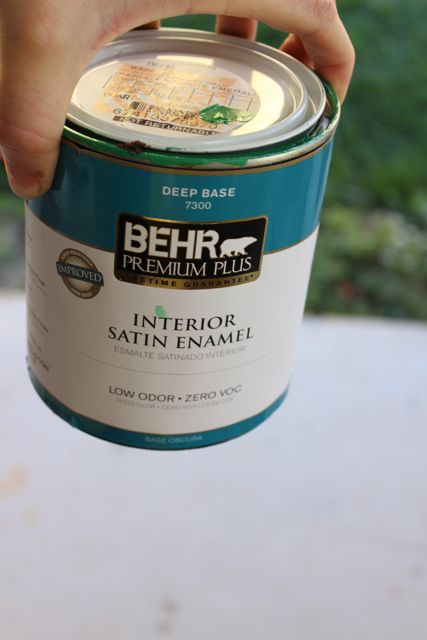
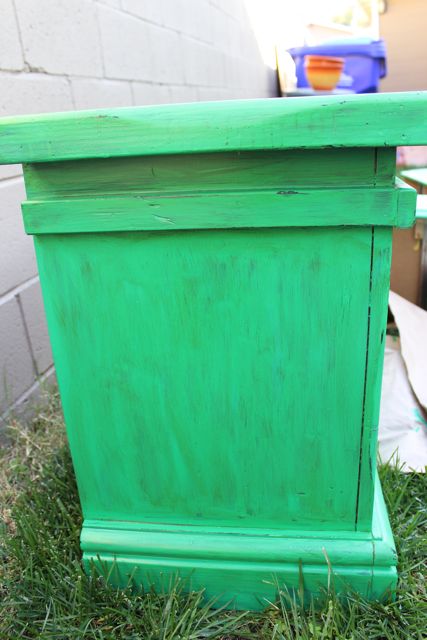
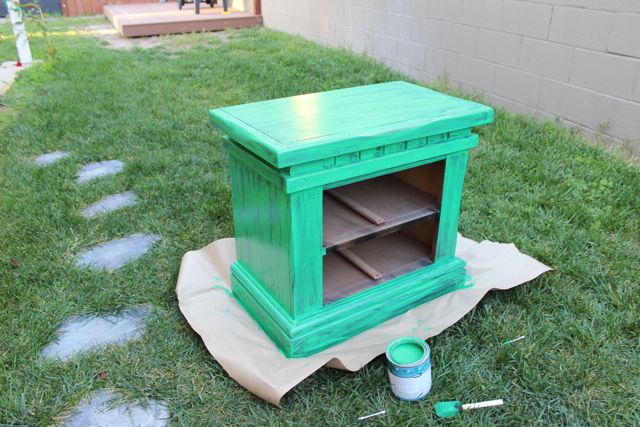
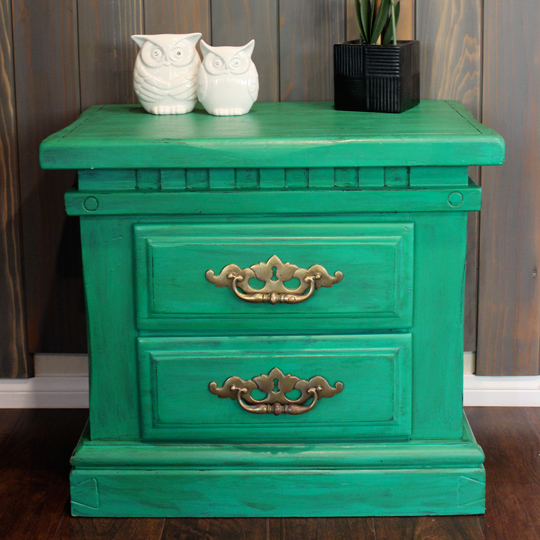
5. Now it is time to really paint! Simple straightforward basic painting. I only did one coat because I liked how the dark was showing through. The Behr Paint color I used is Exquisite Emerald in Satin. Make sure to let your paint dry ALL THE WAY before moving onto adding the final glaze.
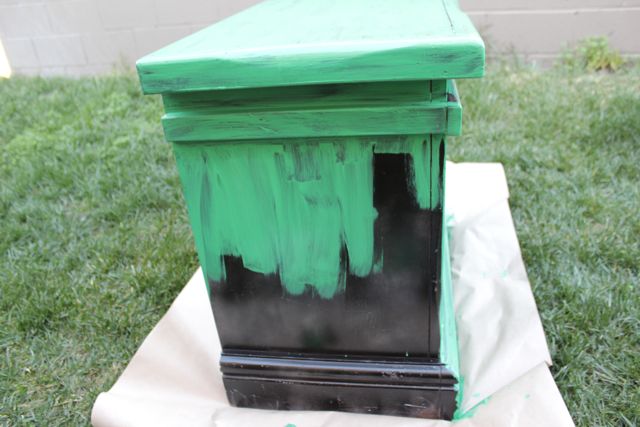
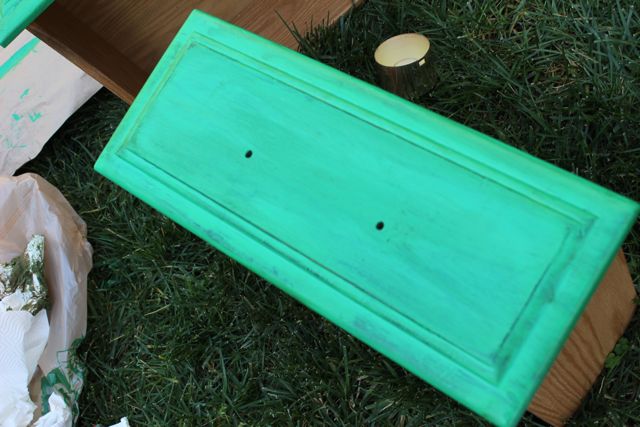
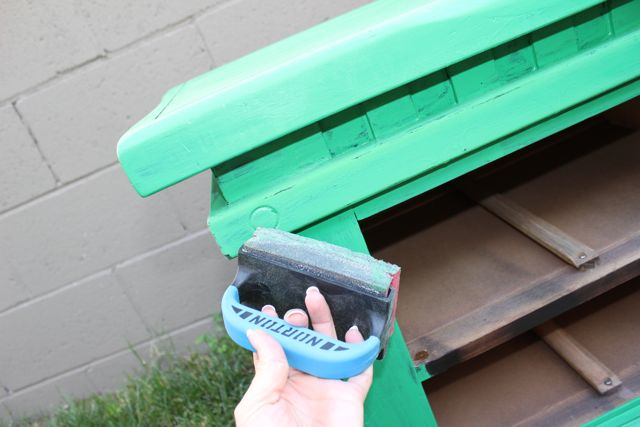
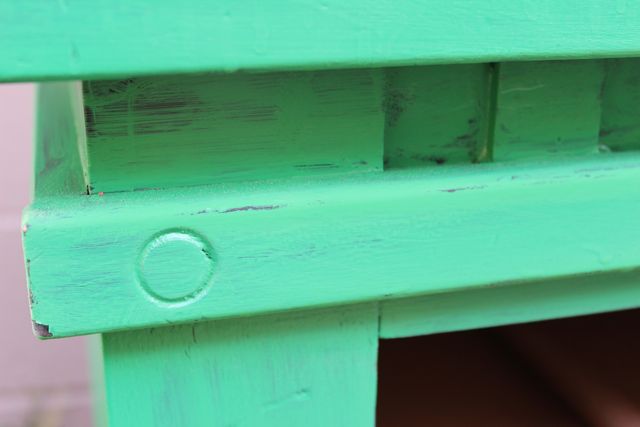
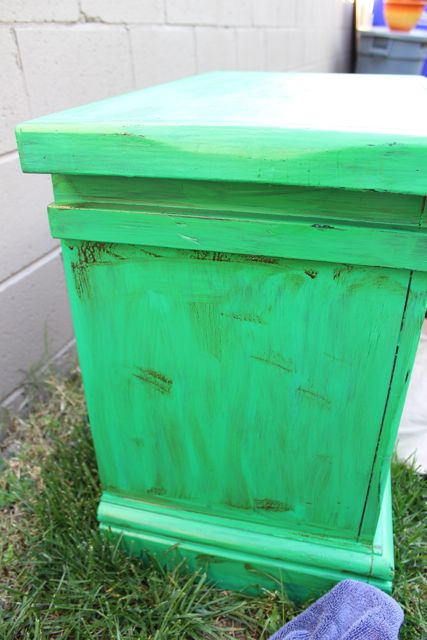
6. Next I “antiqued” the nightstand dresser slightly by sanding down corners and edges to expose the dark underneath. Be VERY gentle so that you only sand off the top coat and not the primer. If you are painting over furniture that is already dark underneath then you have nothing to worry about and can sand away!
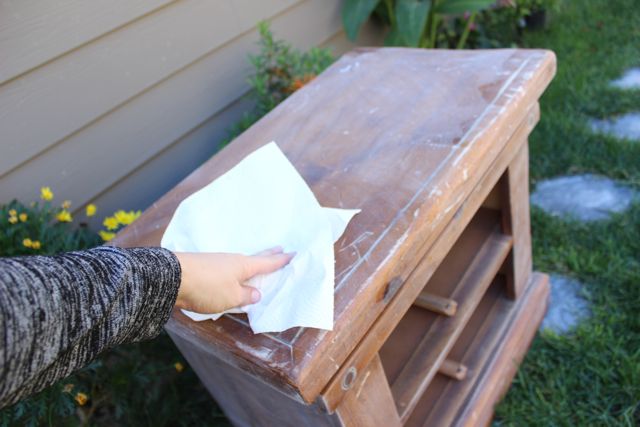
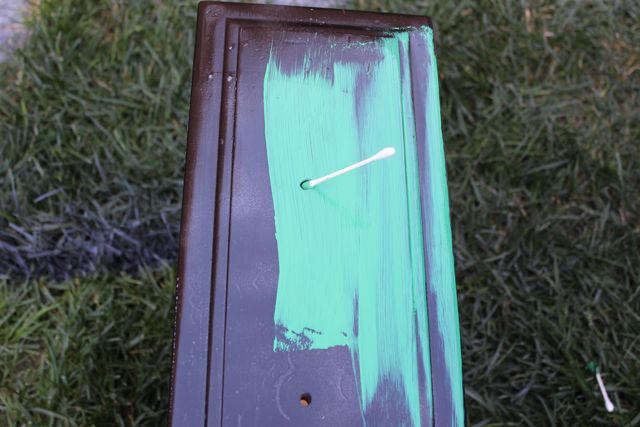
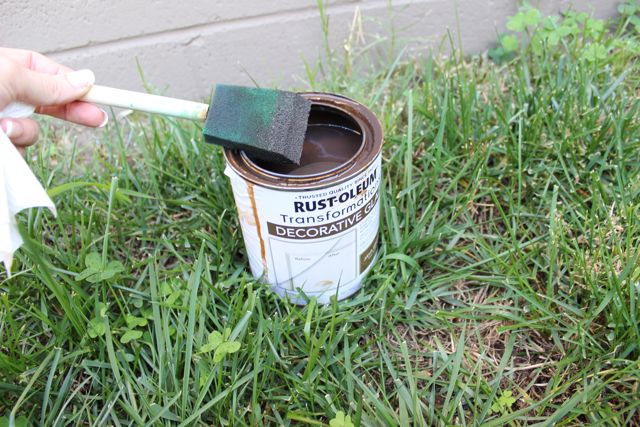
7. Next step is to add the Rustoleum Decorative Glaze (I got at home depot). This darkens up your paint and add vintage vibe. It is not 100% necessary, I loved the nightstand already without it but it gives a slightly richer look and this stuff works great on furniture that is prepainted.. that you did not paint yourself. You can flip anything into a vintage antique look by putting this stuff on it. Make sure to put on VERY LITTLE. I wipe off the brush onto a towel before applying.
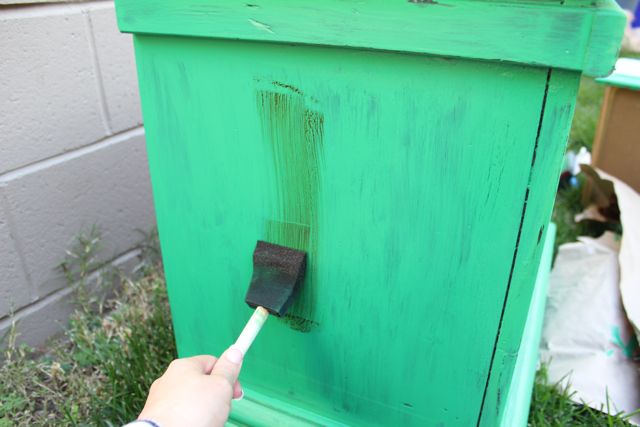
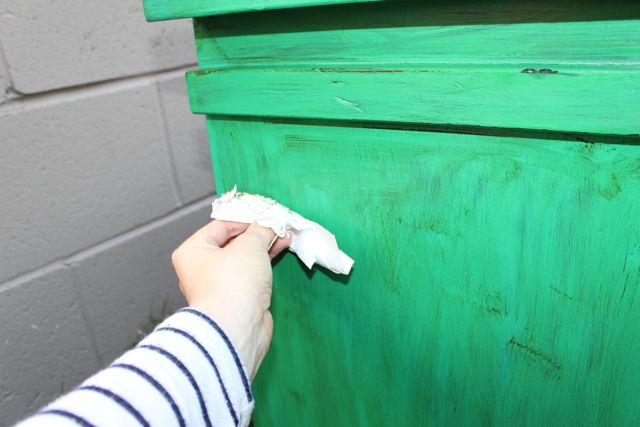
First you paint on the glaze very quickly, you do not want it to dry before you have time to wipe it off. As soon as you get an area covered in glaze then immediately wipe it off! You will be able to feel this part out but start wiping it off and you will see that a residue will stay behind. Keep wiping until it gets the look and feel that you want. The more you wipe off the more subtle the results.
8. Put your hardware back on.
Voila, all done 🙂 I know that the tutorial might have seemed long but I literally did this project in a morning before Scarlett’s first nap. Although I think I should have probably given more dry time. We were up at 7am and I was finishing this up at 10am. Now go to the thrift store and find some awesome furniture to makeover! You can even resell on craigslist if you want to make some extra money.
Here is a before and after shot!
If you enjoyed this tutorial then sign up for my WEEKLY newsletter! It is full of DIY tutorials for the home, kids, holidays and much more! Sent out every Friday morning….


Loving this idea! I really need to try it on my coffee table and end table. The kids have destroyed them. I’ve been thinking about painting them a mint color!!
Ohhhh Courtney I am doing a mint photo holder right now! Love that color, do it
I’m totally loving this!! Love the color, love the old hardware, and I love those pictures with GREEN grass in them. :). I’m so glad you shared exactly what you used. I’m going to copy you when I find my piece of furniture!!
Thanks Katie! I cant wait to see what you do!
Such a cheerful color you used to repaint this piece of furniture! Thanks so much for link up at Link it or Lump it!!
Amy @ http://www.delineateyourdwelling.com
Thanks Amy, I’m so glad you like it!
Looks fabulous! It came out beautifully! Jacqui http://www.brookeeva.com
Thank you Jacqui, much appreciated
Great tutorial! I’m not new to painting furniture and crafts, but i did not know about black primer vs. white. No idea you would need to go a shade lighter/darker depending on the primer. Thanks!
Thanks Dee! I’m obsessed with black primer and sanding furniture to look used 🙂
I love this! I recently discovered how amazing our Salvation Army is for furniture. There are two bar stools I found last week sitting upstairs waiting to be redone. I’ll definitely find some of that black spray primer now. Thanks for the tip & thanks for linking up at Thursday Style last week!
So glad you can use the idea Melissa! Love that link party will be heading there this Thursday for sure
wow! what a transformation sonnet! i’ve not done some kind of distressed look on a furniture..thanks for this tutorial!
hey thanks for sharing this over at The DIY’ers, huggies♥
rea
Glad you like it Rea! Thanks for hosting I will be linking up again this week for sure
Absolutely love this! I have a whole bedroom of pine furniture I was going to paint white… definitely made me rethink that idea!
R. J. says
Hi, thanks for this post. Can you please clarify what the glaze does? You say it gives more of a vintage feel, but is that because of the “dark streaks” it kind of produces? Also, how do you determine what type of paint to use? I’m new to the DIY world but will be embarking on some projects as I redecorate my home, so I appreciate any advice you can give!
Did you wipe the glaze off with a paper towel?
Hi Heather,
Yes the first picture is me putting on the glaze, third picture is me wiping it off.